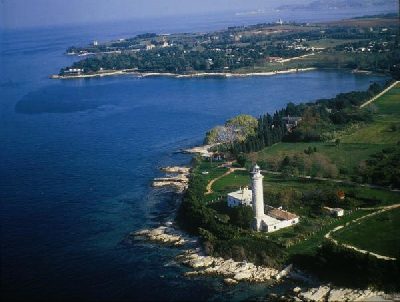
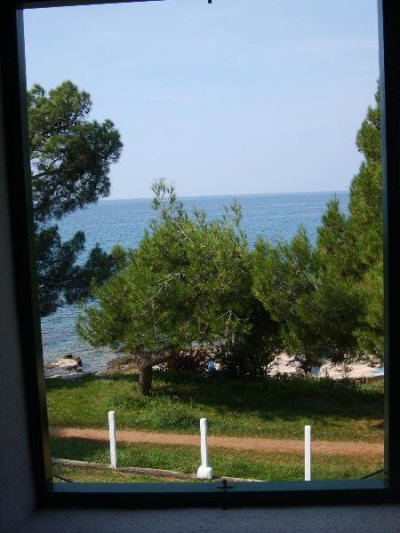
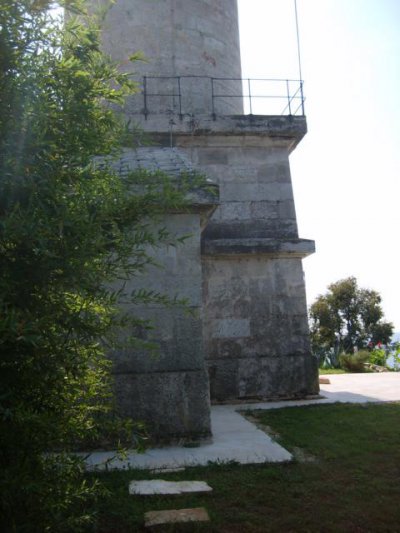
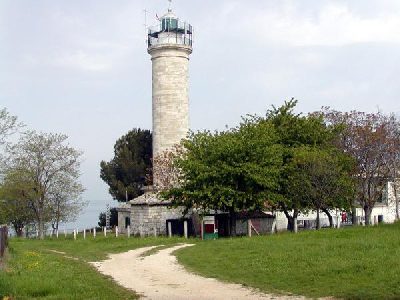
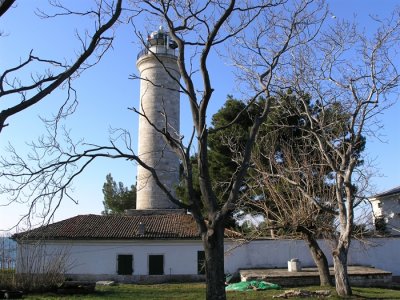
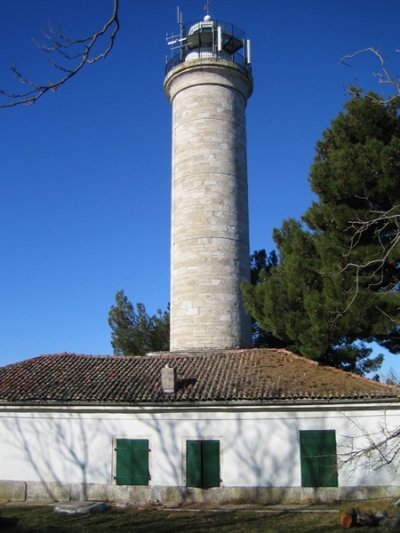
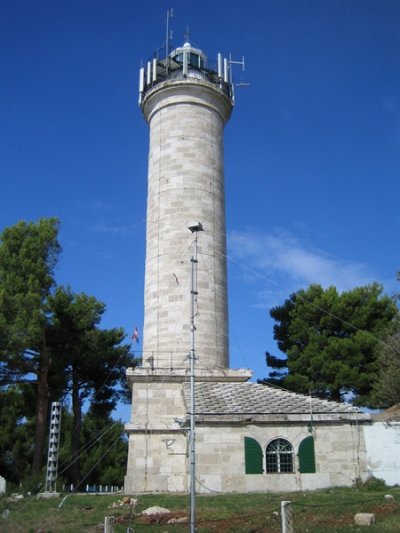
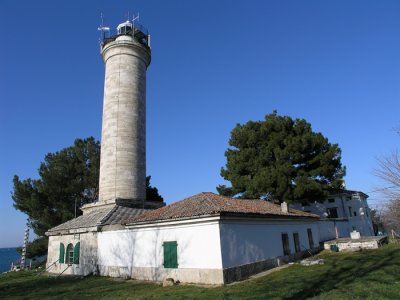
Leuchtturm Savudrija
| Savudrija
Schließen
A3W
A3W
A3W
A3W
A3W
A3W
A3W
A3W
A2
A2
A2
A2
A2
A2
A2
A3E
A3E
A3E
A3E
A3E
A3E
A3E
A3E
A3W
A4
A4
A4
A4
A3W
Nach oben